Home
How to Build a Stunning Vegetable Platter That Stays Fresh for Hours
Building a top-tier vegetable platter requires three core pillars: portioning (aim for 2-4 ounces per guest), texture preservation (use a 10-minute ice bath for maximum snap), and visual depth (incorporate verticality and edible bowls). By moving away from store-bought trays, you can save up to 60% in costs while ensuring a level of freshness that pre-packaged options rarely match.
Why a DIY Vegetable Platter Beats Store-Bought Every Time
When planning an event, the convenience of a pre-cut vegetable tray from the grocery store is tempting. However, there is a significant "freshness gap" that often compromises the quality of your spread. Pre-cut vegetables are prone to oxidation, which manifests as the notorious "white blush" on carrots or the dry, woody texture of broccoli florets. Because these trays are often packaged days in advance, the natural moisture and crispness of the produce are significantly diminished.
Beyond quality, the financial implications are substantial. According to market observations, store-bought trays are significantly more expensive per pound and often lack the variety that makes a platter truly engaging. By purchasing whole vegetables and prepping them yourself, you gain full control over the selection, ensuring you don't end up with a tray that is 50% celery—a common "filler" that guests frequently leave behind.
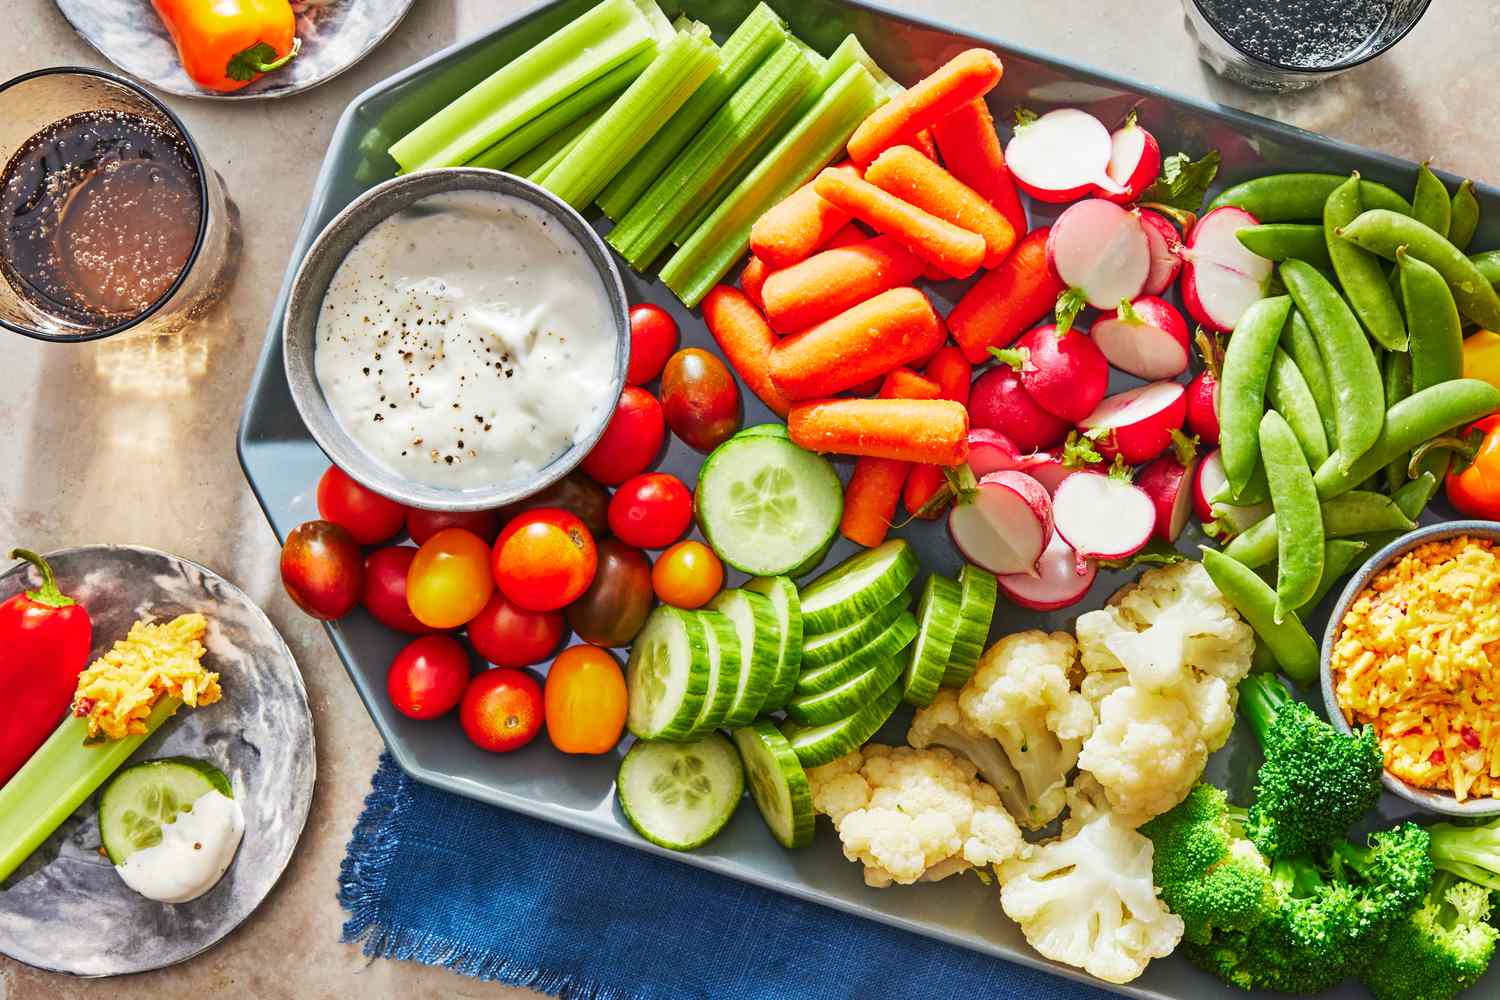
Image source: Southern Living
Cost-Benefit Analysis: DIY vs. Store-Bought
To illustrate the value of the DIY approach, consider the following comparison based on average retail pricing for organic produce versus pre-packaged organic trays.
| Feature | Store-Bought Tray (3 lbs) | DIY Platter (3 lbs) |
|---|---|---|
| Average Cost | $18.00 - $24.00 | $8.00 - $12.00 |
| Freshness Level | Moderate to Low (Pre-cut) | High (Fresh-cut) |
| Variety | Standard (4-5 types) | Unlimited (8-12 types) |
| Customization | None | Full control over portions |
How Much Vegetable Platter Do You Actually Need per Guest?
One of the most common challenges in event planning is determining the correct amount of food. Overestimating leads to waste, while underestimating leaves guests reaching for empty trays. Professional caterers typically follow the 2-4 ounce rule . This suggests aiming for 1/8 to 1/4 pound of prepared vegetables per person.
This range allows for flexibility based on the nature of your event. If you are serving a full multi-course meal, you can lean toward the lower end (2 ounces). However, for a cocktail-only event where the vegetable platter is a primary snack, the higher end (4 ounces) is a safer bet. It is also important to consider the "dip factor"—guests will consume more vegetables if the dips are particularly enticing.
The Party Calculator Table
Use this quick-reference guide to estimate your shopping list based on your guest count.
| Guest Count | Recommended Weight (Lbs) | Preparation Time (Est.) |
|---|---|---|
| 10 Guests | 1.25 – 2.5 lbs | 20 Minutes |
| 20 Guests | 2.5 – 5 lbs | 35 Minutes |
| 50 Guests | 6.25 – 12.5 lbs | 60 Minutes |
| 100 Guests | 12.5 – 25 lbs | 90+ Minutes |
The Best Vegetables to Include for Color and Crunch
A successful platter balances reliable staples with "Elysian" additions that provide visual interest and unique flavors. While carrots and cucumbers are essential, adding unexpected elements like Romanesco (with its stunning fractal patterns) or watermelon radishes (with their vibrant pink interiors) can elevate the entire presentation.
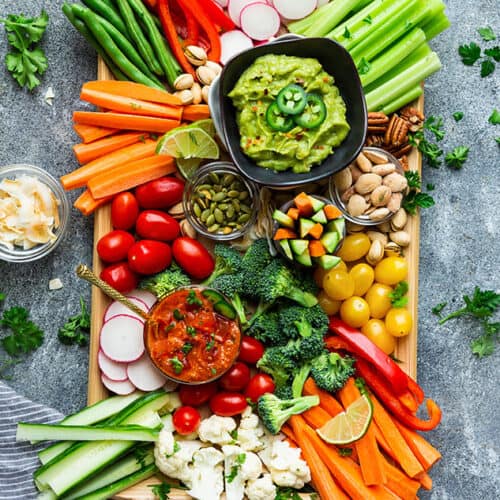
Image source: Life Made Sweeter
The Vegetable Selection Matrix
To create a balanced tray, select at least one item from each of these texture and color categories.
- The Snap (Firm & Crunchy)
- Carrots, celery, snap peas, and bell peppers. These form the structural backbone of the platter.
- The Crunch (Dense & Earthy)
- Broccoli, cauliflower, and Romanesco. These are excellent for holding onto thicker dips.
- The Refresh (Water-Rich)
- Cucumbers, jicama, and radishes. These provide a cooling contrast to spicy or heavy dips.
- The Color Pop (Visual Interest)
- Watermelon radishes, purple cauliflower, and heirloom cherry tomatoes.
Pro Prep Secrets to Keep Your Veggies Crisp and Vibrant
The difference between a mediocre tray and a professional-grade spread often lies in the preparation techniques used to maintain "turgor pressure"—the water pressure inside plant cells that keeps them crisp. One of the most effective methods is the 10-Minute Ice Bath Hack . By soaking sliced carrots, celery, and radishes in a bowl of ice water for ten minutes before serving, you force the cells to hydrate fully, resulting in a "hyper-snap" texture that lasts for hours.
Storage Science by Vegetable Type
Not all vegetables should be stored the same way. Proper humidity management is key to preventing wilting during the prep phase.
- Root Vegetables: Store sliced carrots and radishes in loosely closed plastic bags with a few drops of water to maintain high humidity.
- Green Vegetables: Wrap snap peas and asparagus in a damp paper towel before placing them in a bag; this prevents the delicate skins from drying out.
- Leafy Elements: If using endive or romaine hearts, keep the root intact until the moment of serving to preserve the structural integrity of the leaves.
How to Slice Vegetables Like a Professional Chef
Visual appeal is heavily influenced by the geometry of your cuts. Moving beyond basic sticks and rounds can make your platter look like it was prepared by a high-end catering team. One simple yet effective technique is diagonal slicing . By cutting cucumbers, celery, and zucchini on a 45-degree angle, you create more surface area for dipping and a more sophisticated silhouette.
For a truly modern look, use a mandoline to create paper-thin radish rounds or a vegetable peeler to produce long, elegant carrot ribbons. These "shaved" textures add a lightness to the platter that contrasts beautifully with heavier florets. As noted by experts at Redefining Domestics , varying the shapes—combining uniform sticks with organic, whole baby vegetables—creates a more dynamic and inviting display.
Creative Ways to Arrange Your Platter for Maximum Visual Impact
Arrangement is where your creativity can shine. Instead of a flat, two-dimensional layout, aim for verticality . Lean taller vegetables, such as blanched asparagus or long-stemmed carrots, against the central dip bowl to create 3D depth. This makes the platter appear more abundant and easier for guests to navigate.
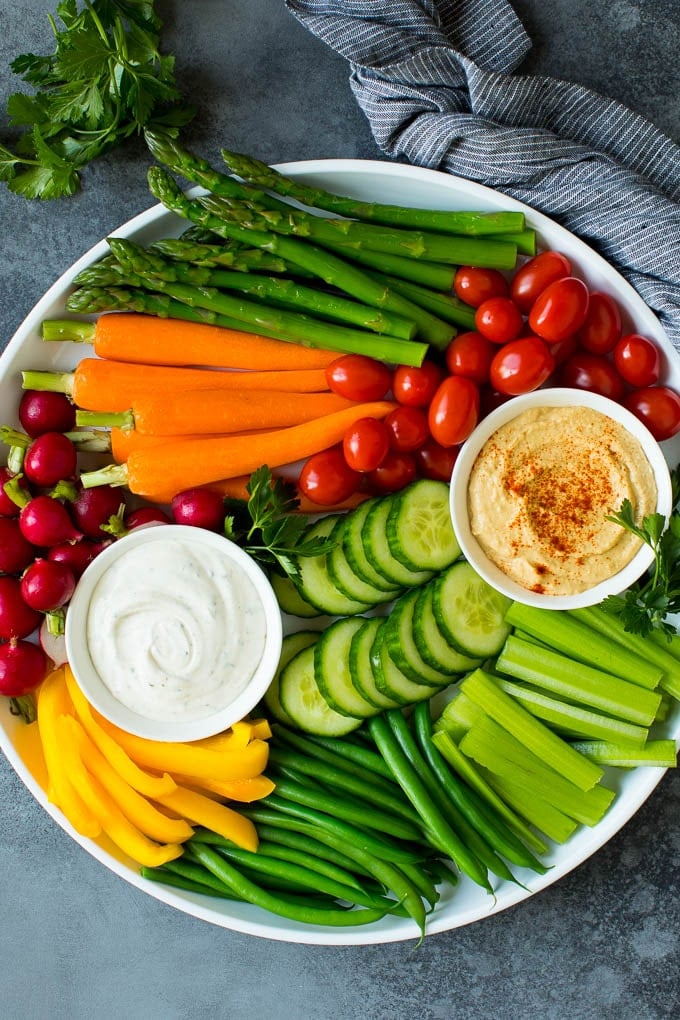
Image source: Dinner at the Zoo
Advanced Plating Techniques
Incorporate these "insider" hacks to give your platter a professional edge:
- The Edible Bowl: Hollow out a vibrant purple cabbage or a large bell pepper to serve as your dip container. This adds a natural pop of color and eliminates the need for extra dishware.
- The Bedding Technique: According to DVO , using a base layer of curly parsley or kale prevents vegetables from sliding around and adds a lush, garden-like feel to the board.
- Color Blocking: Instead of mixing everything together, group vegetables by color. You can follow the rainbow spectrum (ROYGBIV) or alternate high-contrast colors like orange carrots next to purple cauliflower for a striking effect.
Beyond Ranch: Dips That Will Impress Your Guests
While classic ranch is a crowd-pleaser, offering a variety of dips can significantly enhance the guest experience. A "Three-Tier Dip Strategy" ensures there is something for every palate, from the traditionalist to the adventurous eater.
"The dip is the soul of the vegetable platter. A well-paired dip can transform a simple carrot into a gourmet experience."
For those looking to save time, you can elevate store-bought hummus by adding a swirl of high-quality olive oil, a sprinkle of smoked paprika, and fresh lemon zest. If you have more time, consider making a Greek-inspired Tyrokafteri (spicy whipped feta) or a vibrant Green Goddess dip packed with fresh herbs. As suggested by Peas and Crayons, making your dips a day in advance allows the flavors to meld and intensify, resulting in a much richer taste profile.
The Best Hardware for Transporting and Serving Your Platter
The vessel you choose for your platter depends on the setting. For formal indoor gatherings, a large wooden charcuterie board or a slate tile provides a rustic, elegant backdrop. However, for outdoor events or potlucks, the "Snackle Box" trend has become a top-tier choice. These are compartmented plastic containers with secure lids and handles, making them exceptionally easy to transport while keeping different vegetables separated.
If you are serving in a warm environment, consider using a chilled stainless steel tray or placing your serving platter on top of a larger tray filled with crushed ice. This ensures the vegetables remain at a safe temperature and maintain their crispness throughout the duration of the party.
Frequently Asked Questions
How do I stop my cucumbers from getting watery on the tray?
Cucumbers have a high water content that can leak out once sliced. To prevent this, slice them last, just before serving. You can also lightly salt the slices, let them sit for 5 minutes, and then pat them dry with a paper towel to remove excess moisture before plating.
Can I make a vegetable platter 24 hours in advance?
Yes, you can prep most vegetables a day early. The key is using the damp paper towel method for greens and storing roots in airtight containers. However, wait to slice watery vegetables like cucumbers or tomatoes until the day of the event for the best results.
What are the best kid-friendly vegetables for a tray?
Children typically gravitate toward sweeter, milder vegetables. Focus on baby carrots, sweet mini bell peppers, sugar snap peas, and cucumber rounds. Providing a familiar dip like a mild ranch or a smooth hummus also encourages them to try the vegetables.
How do I keep the dip cold on a hot day?
The most effective method is to use a "bowl-in-bowl" setup. Place your dip in a small glass or metal bowl, then nestle that bowl inside a slightly larger one filled with crushed ice. This keeps the dip at a food-safe temperature without diluting it.
Is it actually cheaper to buy a pre-made tray?
Generally, no. While you pay for the convenience of pre-cutting, the price per pound is often 40% to 60% higher than buying whole produce. Additionally, DIY platters allow you to buy exactly what you need, reducing the waste of unwanted "filler" vegetables.
The Bottom Line
Creating a standout vegetable platter is an achievable art form that combines smart shopping, scientific prep, and creative arrangement. By following these key takeaways, you can ensure your next spread is a highlight of the event:
- Calculate accurately: Plan for 1/4 lb of vegetables per person for snack-heavy events.
- Prioritize crispness: Use the 10-minute ice bath hack for carrots, celery, and radishes.
- Think vertically: Use height and edible bowls to create a dynamic, 3D presentation.
- Balance your textures: Include a mix of snaps, crunches, and water-rich refreshes.
- Elevate your dips: Move beyond basic ranch with herb-infused or whipped feta options.
- Store strategically: Use damp paper towels and humidity-controlled bags for overnight prep.
Start by selecting three vibrant, seasonal vegetables this week and practice the diagonal slicing technique to see the immediate difference in your presentation.