Home
How to Reheat BBQ Ribs So They Taste Just as Good as the First Day
To reheat BBQ ribs without drying them out, the oven is widely considered a top choice. Wrap the ribs tightly in aluminum foil with a splash of liquid (apple juice or water), and heat at 250°F (120°C) until the internal temperature reaches 165°F . This low-and-slow approach preserves moisture and prevents the meat from becoming rubbery.
Few things are as disappointing as biting into a leftover rib only to find it dry, tough, and devoid of the smoky magic it had the night before. Whether you have a half-rack of baby backs from a local smokehouse or a full slab of St. Louis-style ribs from your own backyard smoker, the challenge remains the same: how do you restore that "just-cooked" texture without turning the meat into leather?
Reheating BBQ is an art form that balances heat transfer with moisture retention. Because ribs are high in connective tissue and fat, they are prone to significant texture changes when exposed to high, direct heat for a second time. In this guide, we will explore evidence-based techniques—from the professional oven "flip" to the surprisingly effective microwave defrost hack—to ensure your leftovers are a highlight rather than a disappointment.
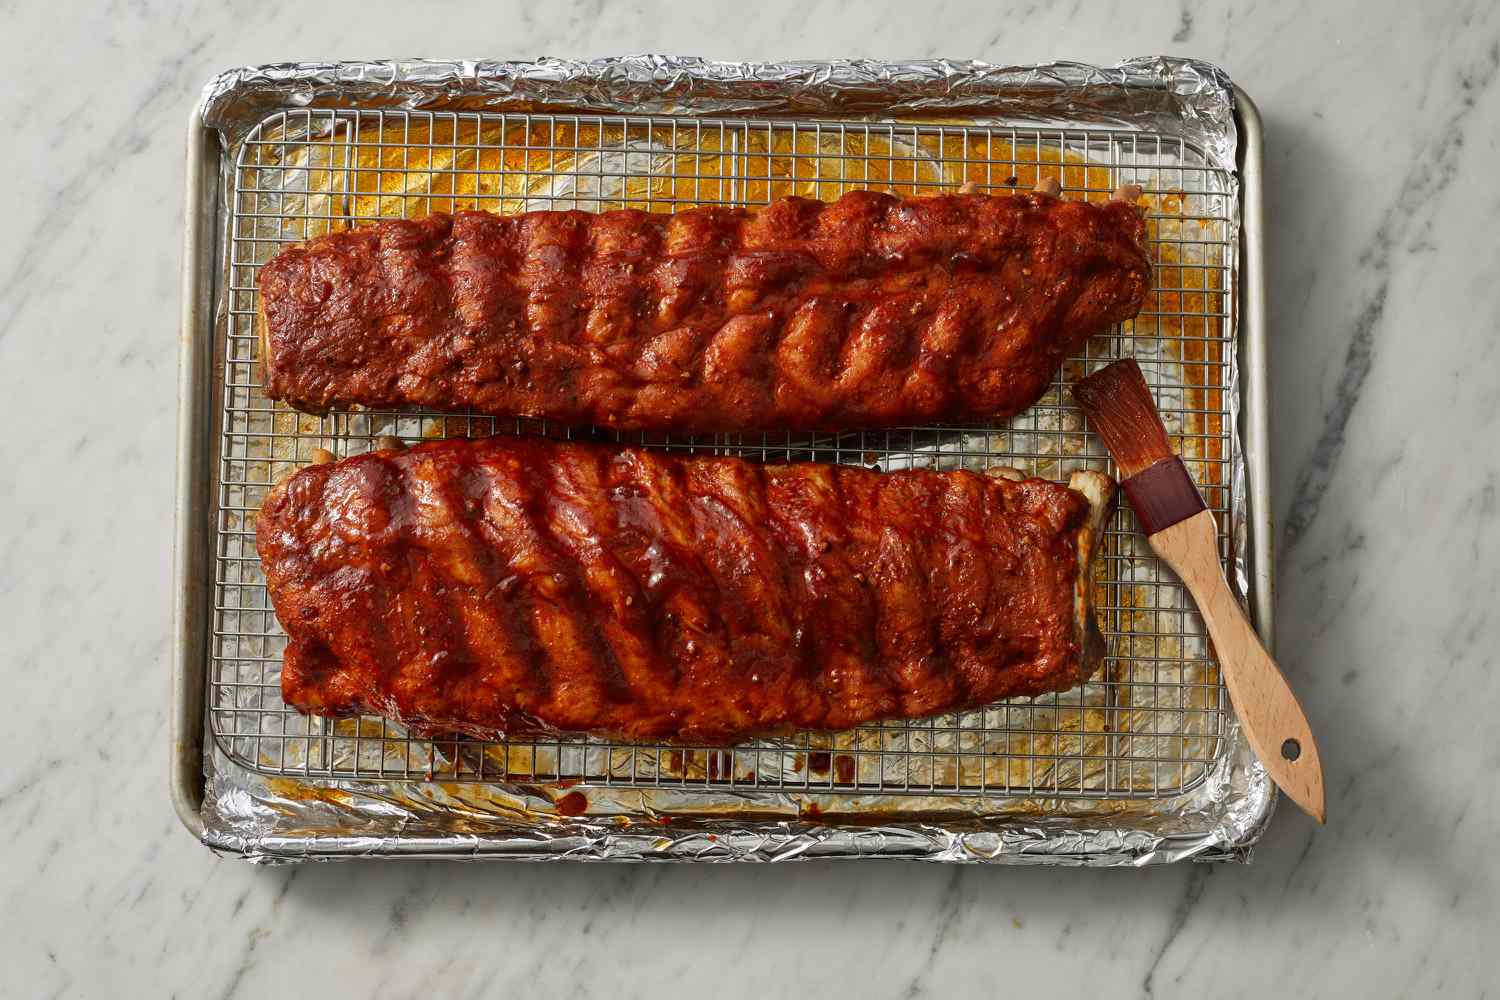
Image source: Southern Living
Why Do Leftover Ribs Get Dry and Rubbery?
The science of dry ribs boils down to muscle fiber contraction and moisture evaporation. When meat is first cooked, the collagen (connective tissue) breaks down into gelatin, which gives ribs their succulent, "melt-in-your-mouth" feel. However, once the meat cools, that gelatin firms up, and the muscle fibers tighten.
When you reheat ribs, you are essentially asking the meat to undergo a second cooking process. If the temperature rises too quickly, the muscle fibers contract violently, squeezing out the remaining moisture like a wrung-out sponge. Furthermore, the surface of the meat is exposed to the air, leading to rapid evaporation. Without a protective barrier or a low-temperature environment, the exterior becomes "barky" in a bad way—turning into a hard, chewy crust that is difficult to eat.
According to BBQ experts, the goal of reheating is not just to make the meat hot, but to gently melt the solidified fats and gelatin without reaching the point where the proteins begin to "boil" in their own juices. This is why high-heat methods like standard microwaving or high-temp broiling often fail, resulting in meat that feels more like rubber than pork.
Top-Rated Methods for Reheating Ribs in the Oven
The oven remains a favorite among pitmasters for its consistent heat and ability to handle large quantities. It is a highly effective method for those who have 30 to 45 minutes to spare and want to prioritize quality over speed.
How to Create a Tight Foil Steam Pouch
The most important tool in your reheating arsenal is heavy-duty aluminum foil. A tight seal is non-negotiable because it creates a micro-environment of steam that surrounds the meat. This steam prevents the dry air of the oven from wicking away moisture.
Should You Use 275°F or 350°F for Reheating?
There is a debate in the BBQ community regarding the ideal temperature. The "Low and Slow" camp, supported by Smoking-Meat.com , suggests 275°F. This lower temperature is safer for moisture retention and allows the internal temperature to rise gradually.
Conversely, some professional establishments like Joe’s Kansas City Bar-B-Que utilize a slightly higher temperature for efficiency. They recommend the "Flip Technique": heat the ribs for 15 minutes, flip the rack over, and heat for another 15 minutes. This ensures that the rendered fats, which naturally pool at the bottom of the foil, are redistributed throughout the meat.
How to Restore the Bark with a 5-Minute Finish
The downside of the foil pouch is that it can make the "bark" (the outer crust) soft or soggy. To fix this, remove the ribs from the foil during the last 5 minutes of reheating. Increase the oven temperature to 375°F or turn on the broiler. Brush on a thin layer of fresh BBQ sauce and let it caramelize. This restores the texture and gives the ribs a glossy, professional appearance.
How to Reheat Ribs in an Air Fryer in Under 15 Minutes
The air fryer has become a popular choice for reheating small portions of ribs because it functions as a high-speed convection oven. The rapid air circulation is exceptionally strong at heating the meat quickly, but it can also be a liability if not managed correctly.
To prevent the air fryer's fan from drying out the surface of the ribs, you should still use the foil-wrap method. Set the air fryer to 300°F and place the foiled ribs in the basket for about 10-12 minutes. Because the space is smaller and the air movement is more intense than a standard oven, the ribs will heat through much faster.
The Secret to Microwaving Ribs Without Ruining the Texture
Most BBQ purists will tell you to never use a microwave, but sometimes time is the limiting factor. The key to a successful microwave reheat is understanding how the appliance interacts with water molecules in the meat.
Why You Must Use the Defrost Setting or 50% Power
Standard microwave settings operate at 100% power, which causes water molecules to vibrate so violently that they essentially "boil" the protein fibers from the inside out. This leads to what some call "Boolean algebra" toughness—the meat is either cold or it is rubber; there is no middle ground. By switching to 50% power or the defrost setting , you allow the heat to conduct more naturally through the meat, resulting in a much more tender bite.
The Deep Dish Water Tray Hack
To further protect the meat, place the ribs in a microwave-safe deep dish. Add a tablespoon of water to the bottom of the dish (not directly on the meat) and cover the dish tightly with plastic wrap or a microwave-safe lid. This creates a mini-steam chamber, mimicking the foil pouch method used in the oven. Heat in 1-minute increments, checking the temperature frequently.
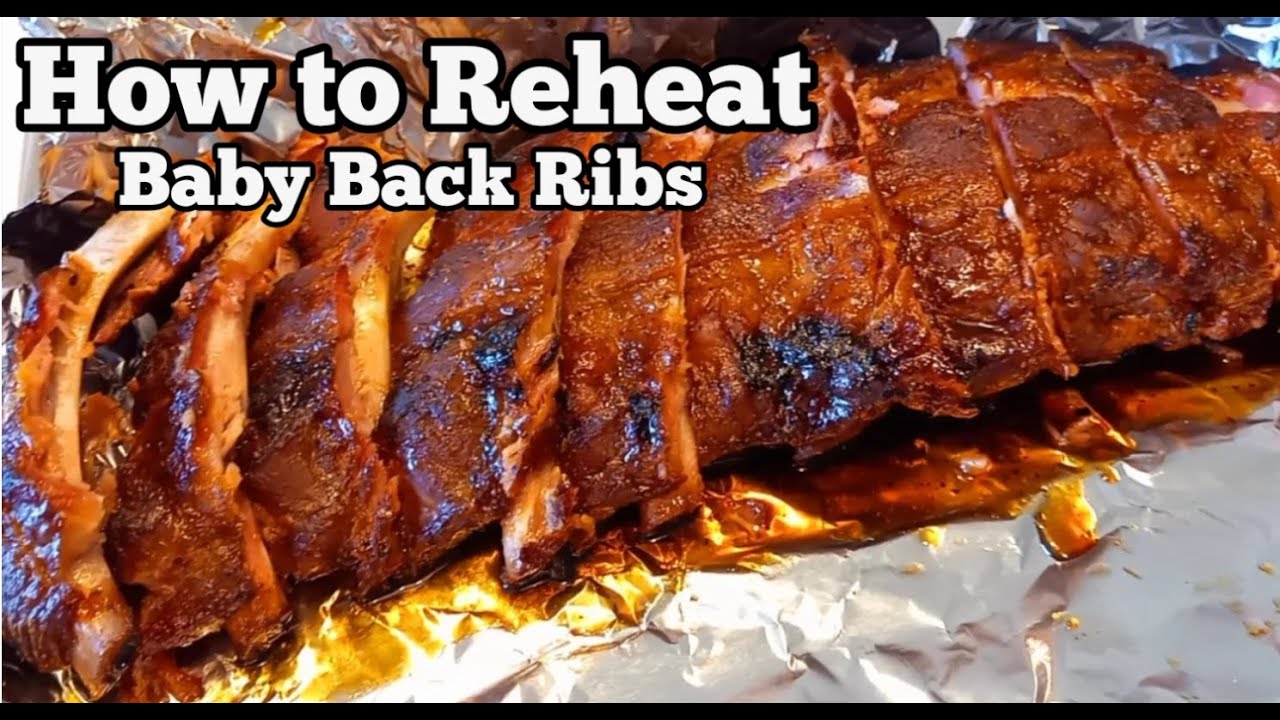
Image source: YouTube
Using the Sous Vide Method for Professional Results
If you own a sous vide immersion circulator, you have access to what many pitmasters consider a top-tier reheating method. Sous vide is remarkably effective because it allows for precise temperature control, making it impossible to overcook the meat.
Place your ribs in a vacuum-sealed bag (or a heavy-duty freezer bag using the water displacement method). Set your water bath to 150°F to 165°F . Submerge the bag and let it heat for 45 minutes to an hour. Since the meat never comes into contact with air or high heat, it retains 100% of its original moisture. The only drawback is the loss of bark texture, which can be easily remedied with a quick 2-minute sear in a hot pan or under a broiler after removing the meat from the bag.
How to Safely Reheat Ribs That Were Previously Frozen
Freezing ribs is an excellent way to preserve them, but the transition from the freezer to the plate requires patience. Attempting to reheat ribs directly from a frozen state often results in an overcooked exterior and a cold, icy center.
The 24-Hour Fridge Thaw vs. the Cold Water Method
For the best results, transfer your frozen ribs to the refrigerator 24 hours before you plan to eat them. This slow thaw prevents the ice crystals from damaging the cell walls of the meat, which helps maintain the original texture. If you are in a hurry, you can use the cold water method: place the vacuum-sealed ribs in a bowl of cold tap water, changing the water every 30 minutes. This can thaw a rack of ribs in about 2 hours.
Reheating Vacuum-Sealed Ribs in Boiling Water
If your ribs were vacuum-sealed before freezing, you can use the "boil-in-bag" method. Bring a large pot of water to a gentle simmer (not a rolling boil). Submerge the sealed bag and heat for 20-30 minutes. This is a highly impactful way to preserve flavor, as the juices are locked inside the bag throughout the entire process.
Which Reheating Method Should You Choose?
Choosing the right method depends on your priorities. Use the table below to decide which approach fits your current situation.
| Method | Time Required | Moisture Level | Bark Quality | Best For |
|---|---|---|---|---|
| Oven (Foil Wrap) | 30-45 Mins | High | Good (with finish) | Full racks, best quality |
| Air Fryer | 10-15 Mins | Medium | Excellent | Small portions, speed |
| Microwave (50% Power) | 3-5 Mins | Low-Medium | Poor | Work lunches, emergencies |
| Sous Vide | 60 Mins | Maximum | Poor (needs sear) | Precision, bulk reheating |
| Boiling Water (Bagged) | 20-30 Mins | High | Fair | Vacuum-sealed leftovers |
Pro Tips for Perfect Bark and Clean Slices
Even with the right heat source, small technical details can make a significant difference in the final presentation and taste of your ribs.
The Bone-Side Up Cutting Technique
When it comes time to slice your reheated ribs, many people make the mistake of cutting from the top (meat side). This often leads to the meat tearing away from the bone because the bark is tougher than the tender interior. Instead, flip the rack over and cut bone-side up . This allows you to see exactly where the bones are located, ensuring clean, even slices without mangling the meat.
Reaching the Safe Internal Temperature
Safety is paramount when dealing with leftovers. The USDA recommends reheating all meat to an internal temperature of 165°F to ensure any bacteria are eliminated. However, there is a slight disagreement among experts regarding texture. Saddleback BBQ advocates for the 165°F standard, while Joe’s KC suggests that 155°F is often sufficient for quality if the ribs were handled safely during storage. For the most consistent results, aim for 165°F using a reliable digital meat thermometer.
What to Do If Your Reheated Ribs Are Still Too Dry
Sometimes, despite your best efforts, the ribs simply don't recover their original glory. This often happens if the ribs were overcooked during the initial smoking process. If you find yourself with dry leftovers, don't throw them away—transform them.
Another creative option is "Rib Lasagna," where you substitute traditional ground beef with shredded rib meat and use BBQ sauce in place of marinara for a smoky, Southern twist on the Italian classic.
- Always add moisture: Use a splash of apple juice, vinegar, or water to create steam.
- Seal it tight: Heavy-duty foil is your best defense against the drying effects of hot air.
- Low and slow is safer: 250°F to 275°F in the oven provides the most consistent results.
- Use the 50% power rule: If using a microwave, never heat on high; use the defrost setting.
- Finish for the bark: Uncover the ribs for the last few minutes to crisp up the sauce.
- Cut bone-side up: This ensures clean slices and prevents the meat from tearing.
- Target 165°F: Use a thermometer to ensure the ribs are safely heated through.
By following these steps, you can enjoy leftover BBQ that maintains the integrity and flavor of the original cook.
Frequently Asked Questions
Final Thoughts
Reheating BBQ ribs doesn't have to be a gamble. By prioritizing moisture retention through foil wrapping and using gentle heat sources like a low-temperature oven or a low-power microwave, you can preserve the hard work that went into the initial smoke. Remember that the "best" method is the one that fits your schedule while respecting the delicate nature of the meat fibers. Whether you choose the precision of sous vide or the speed of an air fryer, always aim for that 165°F internal temperature for a safe and delicious meal.
For your next batch of leftovers, try the Joe’s KC flip technique to see how much of a difference even heat distribution can make.